People who come to BIB are amazed that there are so few mosquitoes here. It may be the prolonged dry season that keeps their numbers down. By the end of the wet season they have multiplied enough to be a bit of a nuisance, but much of the rest of the year they require only an occasional swat.
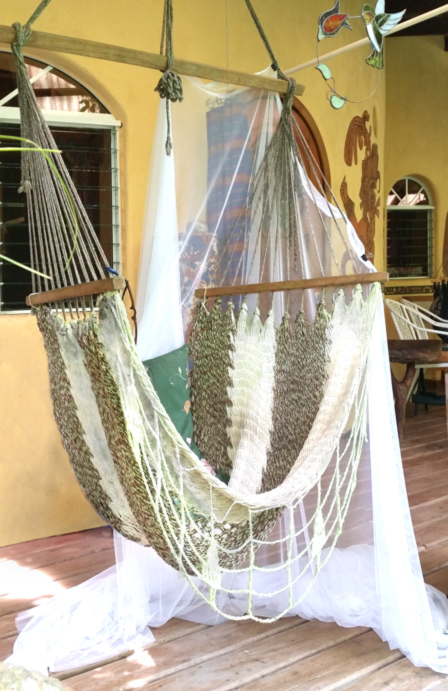
You can convert a hammock chair to a more comfortable state (see here). But after remodeling it, you will discover that it isn’t perfect – you have no protection against the occasional mosquito or biting insects.
A mosquito netting enclosure is a twenty-minute fix that will give you hours of insect-free relaxation, although it does impact the view from inside the chair just a little bit. Black or dark green mosquito works better to preserve the view, so it’s worth shopping around for darker netting. Soft, fine-weave mosquito netting is difficult to find in Belize, so it will need to be brought or ordered from outside if you’re doing this in Belize.
For this DIY, you will need: several yards of 60” wide soft mosquito netting, about 10 office clamps or safety pins, scissors, a plastic-covered coat hanger, and a rubber band.
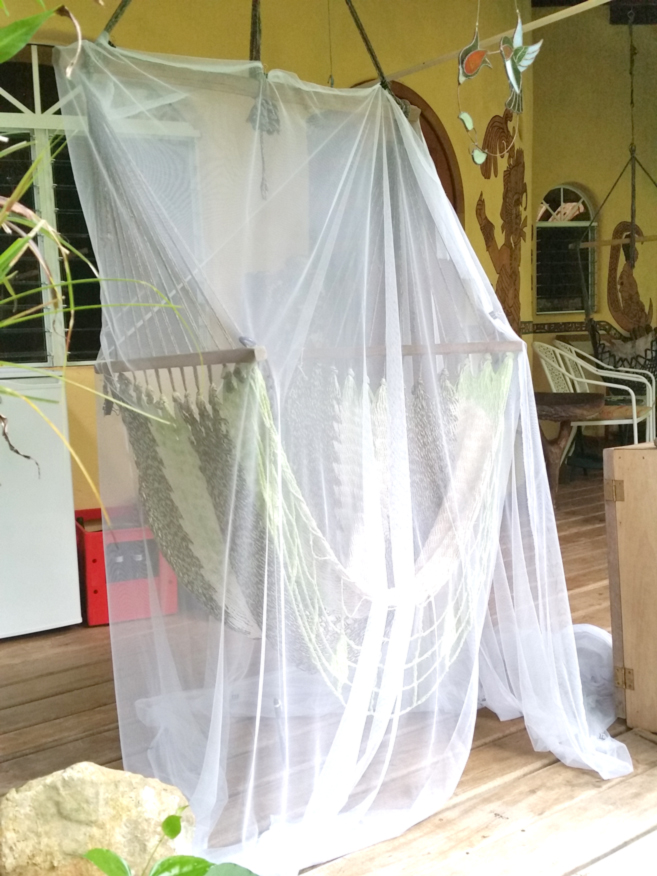
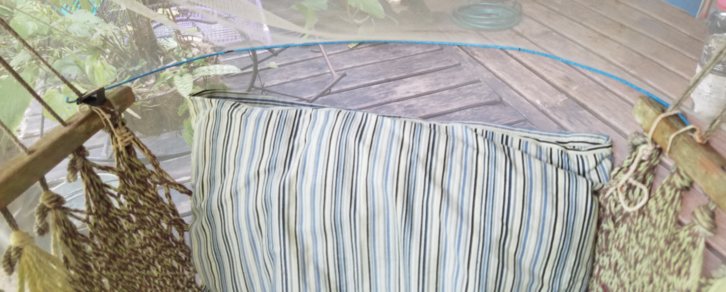
Applying the netting will take some adjusting and experimenting, but basically you clamp the left end of the netting to the left opening of the chair, holding it high enough that the long edge is at the height of the chair’s main crossbar (#1).
Next, walk the netting around the back, the side, then the front of the chair to rejoin the point where you clamped it in the first place. Secure it to that corner, then go back around and clamp the top edges of the netting together over the bar to exclude mosquitoes (#2). Clamp it wherever needed to make the enclosure insect-tight. Back off and look at it to make sure everything is covered. Go back around to the front and cut away extra netting not needed to cover the opening – cut generously, leaving about a foot more netting than you think you need.
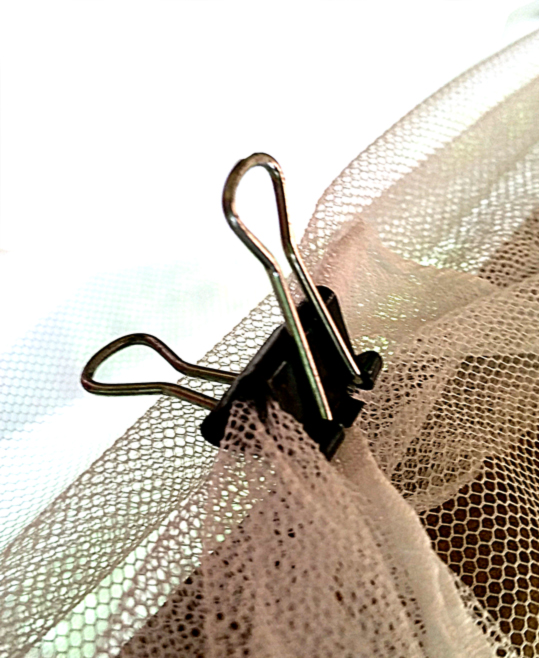
Office Clamp 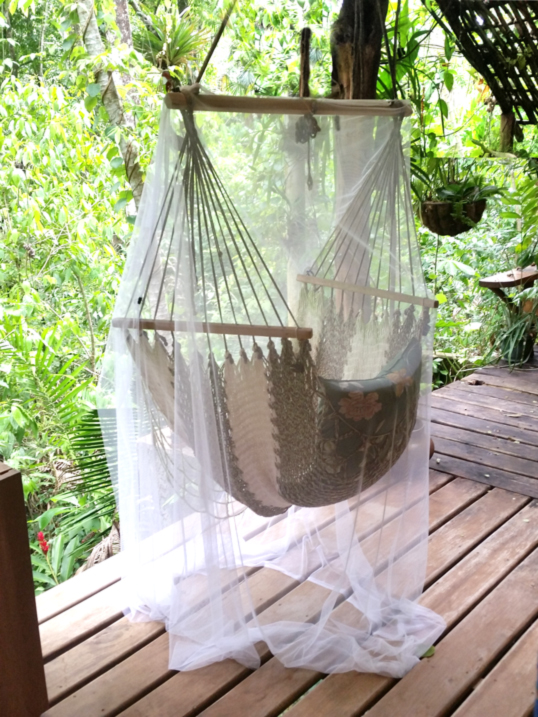
#4 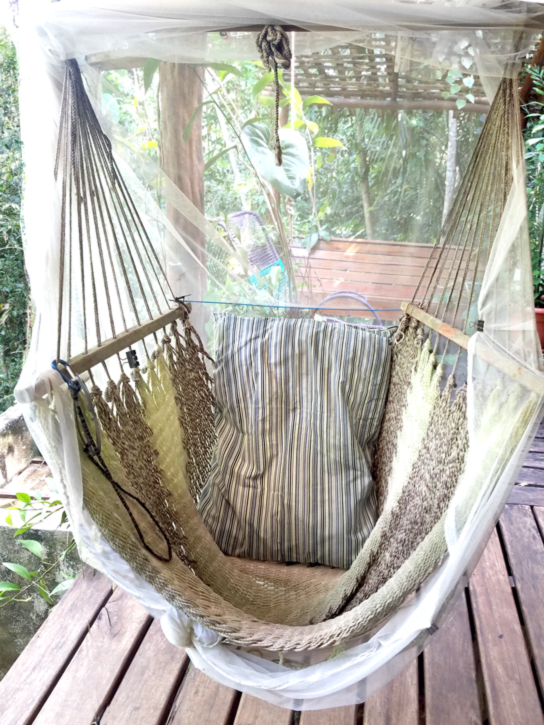
#5
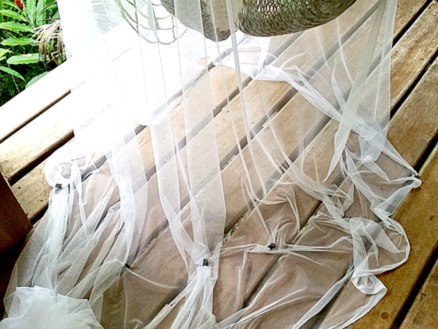
Since you don’t want the netting to be dragging the floor, mark where it touches the floor with clamps or safety pins (#3), then cut off the excess material 4”-6” beyond the clamps (#4). Remove the clamps, and gather up the skirt into a chignon or ponytail under the seat of the chair and secure it with the rubber band to hold it off the floor (#5).
The flap which opens or closes across the front of the chair is attached all along the top of the crossbar. It sweeps to one side and can be looped up over the end of the crossbar when you don’t need mosquito protection. When you are seated, if you leave your feet on the floor, they won’t be protected, so wear socks. Some people like to curl up inside the chair. If you pull in your feet you are totally protected.
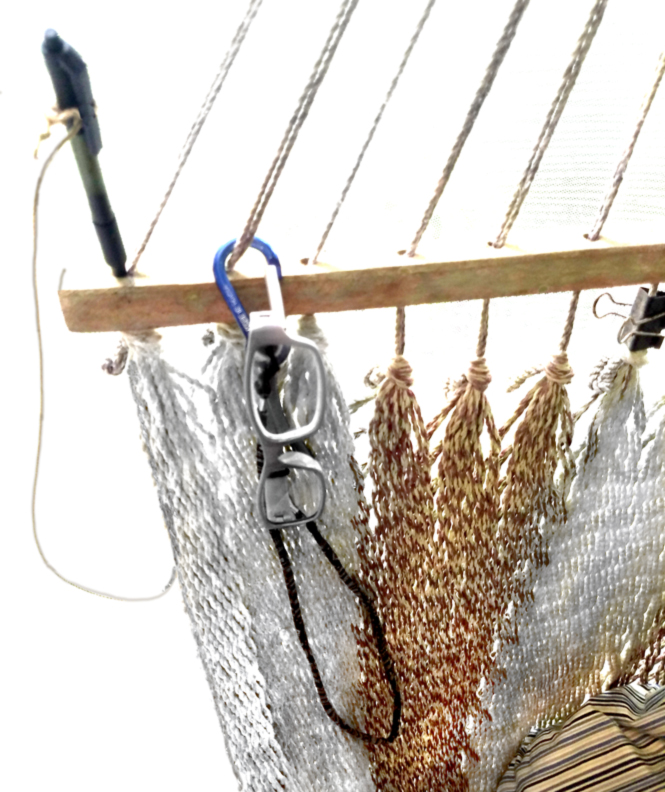
I enjoy journaling in my swinging chair, so I have tied a pen and my glasses to the side bar, so they’re always there when I need them (#6).
Your head/hair may touch the mosquito netting where it rises to the crossbar. If you’d like more head-room, straighten a coat hanger (the plastic-coated ones work best), bend it into an arc so that is reaches from side to side behind your head, and fasten the ends to the top ends of the side bars with wire or string (#7 & #8).
#6 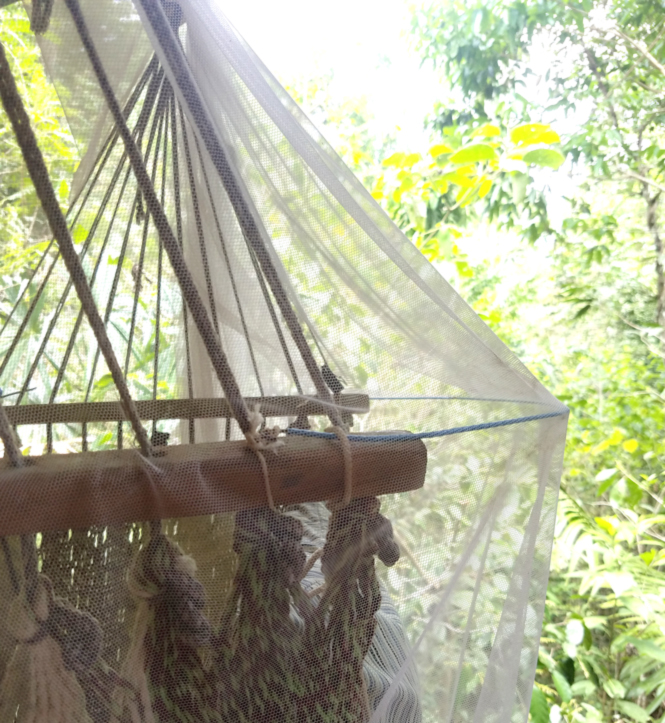
#7
The netting can be removed in less than a minute to launder or repair it (dogs and cats and sharp objects spell trouble for mosquito netting). Don’t let food touch it – moldy spots will develop.
If you prefer to swat mosquitoes but have a poor record for actually hitting them, check out the sure-fire method by searching “Mosquito Swat” on this website.